|
|
ArchivesCategories |

 RSS Feed
|
Elizabeth Plumbers and Drain Service

|
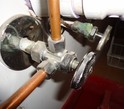
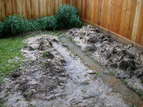
Elizabeth Drain Service is a full service and licensed plumbing contractor that specializes in drain clearing and sewer backups and repairs. Call us today if you have any plumbing needs.

|